Back to K8IQY's 2N2 page
IC Socket Mounting
The first step is to place the socket on the PC board substrate about where
you need it to be for your building. Once situated, place a small dot
adjacent to one of the right hand side interior pins, as a point of
reference. When this is done, go on to the next step.
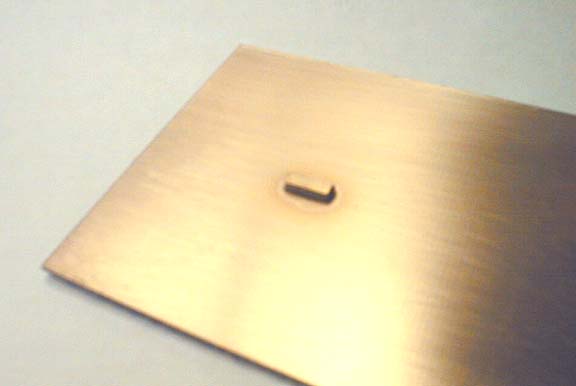
Glue down a rectangular pad from an ADEL or similar nibbling tool at the
location where the interior pin mark was placed. Use a thin cyanoacrylate
glue to fasten the pad, being careful not to glue your fingers to the board,
or get any in your eyes. Wearing safety glasses is recommended.

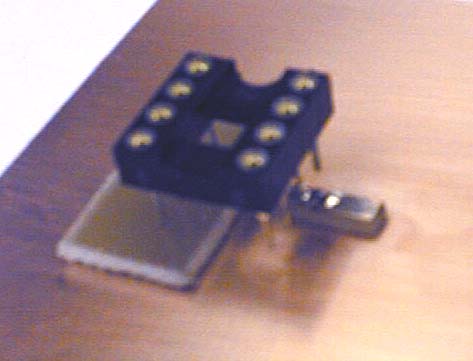
Next, set the socket on the glued down pad, toward its left edge, and support
the other side of the socket on a scrap of PC board material from which the
pads were cut. This step assures the socket will be at the correct
height so the remaining pads, which will be placed on the side supported
by the scrap material, will fit under the socket pins.
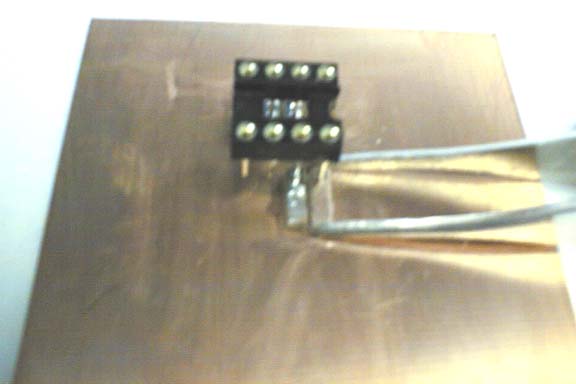
Once this step is done, carefully solder the pin to the glued pad.
You'll have to keep a finger on the socket while soldering to keep it from
moving. If it does move some, just reheat the joint and push it back
in place while the solder is still melted. Don't worry if the solder
joint is sloppy, we can go back later on and clean it up.
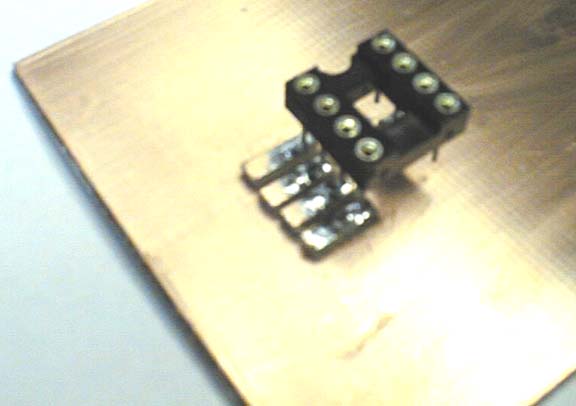
Remove the scrap piece of PC board material from under the loose side of
the socket, and begin gluing and soldering the pads on that side, starting
with the top most pin, and working your way down. By adding the pads
in that order, you will always have a side available for gluing.
Once the opposite side of the socket is complete, return to the beginning
side, and glue and solder the pads on that side. Notice on this 8 pin
socket, I started with the second pin from the top on the right side.
That was to make sure I could add the pad above this one, since its top edge
is exposed for gluing. Once this pad is in place, the remaining pads
are added, always attaching a pad next to a completed pin.
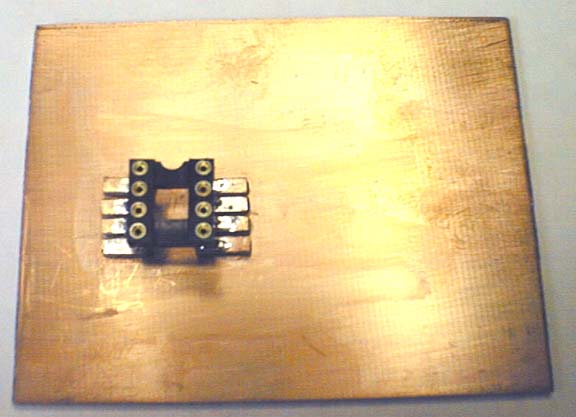
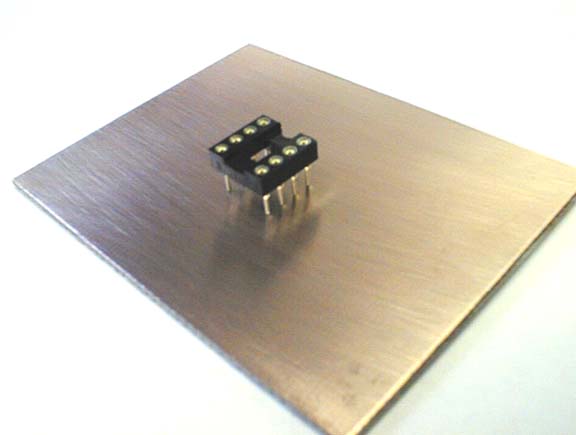
Once all of the pads are in place, glued, and soldered, we're essentially
done. My last step is to use a bit of lacquer thinner on a Q-tip and
clean the pads of residual flux. The finished socket looks like the
above picture. This technique will also work for sockets with more
pins, it just gets a bit more tedious getting everything in place.
Back to K8IQY's 2N2 page