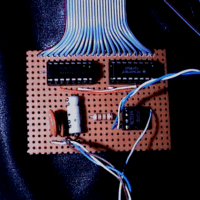


Top view of the completed display driver circuit.
The display driver circuit is fairly simple to put together; just follow the schematic diagram.
The only really critical aspect of the construction process not evident from the circuit schematic is the necessity of IC sockets. It is very strongly suggested that sockets are soldered into the circuit, rather than soldering the ICs in directly. This prevents the ICs from being damaged by the heat of the soldering pen during the construction process, and makes them easily replacable should they malfunction.
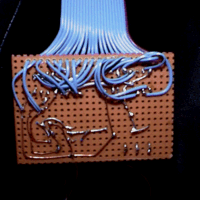
Most of the connections to be made in the circuit are the twenty outputs to the LED display matrix. The author found it easiest to completely disregard these connections until the rest of the circuit was completed, then connect a ribbon cable directly to the twenty outputs of the circuit. This resulted in a painless, if slightly messy, construction process. Note that the circuit can be laid out with little concern for the offboard components (the 1meg potentiometer and the SP3T rotary switch) as well.
The author used twenty-two conductor ribbon cable, with twenty of the conductors connected to the outputs and two to the power and ground connections of the circuit.

Bottom view of the completed display driver circuit.